
Have you ever opened a jar of store-bought ghee and felt something was missing? The aroma is faint, the texture feels greasy, and it does not remind you of the ghee from a home kitchen. Many people notice this.
The reason often lies in how the ghee is made. Two jars can both say “pure” on the label and still be made in very different ways. In this guide, we take a closer look at the traditional ghee making process behind Vedic bilona ghee. If you want to know how bilona ghee is meant to be made, and why the slower way matters, the bilona ghee making process is the place to start.
The Heritage of Traditional Craft
The word Vedic points to the ancient roots of this method. Ghee in Ayurveda has a long history, and Ayurvedic texts describe it as a valued food and a base for many preparations. For an Ayurvedic ghee for daily use, the way it is prepared matters, and traditional guidelines place great weight on method.
We believe pure A2 ghee should be made with patience and full transparency. That is why we follow the traditional bilona method. It is slow, and it is how we aim to make the best A2 Gir cow ghee, with the natural character of the milk kept intact.
Step 1: It Starts With Pure Milk
Good ghee begins long before any churning. To make genuine A2 Gir cow ghee, you need milk from indigenous, grass-fed cows. Gir cows are an indigenous breed known for A2 milk, which contains the A2 beta-casein protein. When the cows graze on open pasture, the milk has a natural, wholesome base.
Starting with good milk makes premium A2 ghee far easier to get right. If you plan to buy A2 ghee online, look for clear sourcing details like these. A brand that is proud of its milk will tell you where it comes from.
Step 2: The Art of Setting Curd
This is where traditional and factory methods part ways. Many commercial brands save time by separating cream directly from milk with machines. The traditional method is slower. The A2 milk is gently boiled and left to set into curd overnight in earthen pots.
This step gives you curd churned bilona ghee. Setting milk into curd is a natural fermentation, and it is the foundation of the bilona method. Traditional makers value it for the depth of flavour it brings, which makes the ghee a good fit as your A2 ghee for daily cooking, from dal and rotis to sabzi.
Step 3: The Bilona Churning
Now the curd is churned. A wooden churner called a bilona goes into the set curd, and it is turned by hand in a steady rhythm, one way and then the other. This is how hand churned ghee is made.
The churning separates the buttermilk and leaves soft white butter called makkhan. The bilona method ghee approach is gentle and slow. It relies on patience and skilled hands rather than machines, and that is what sets traditional bilona ghee apart from ghee made at speed.
Step 4: Slow Clarification Over a Gentle Flame
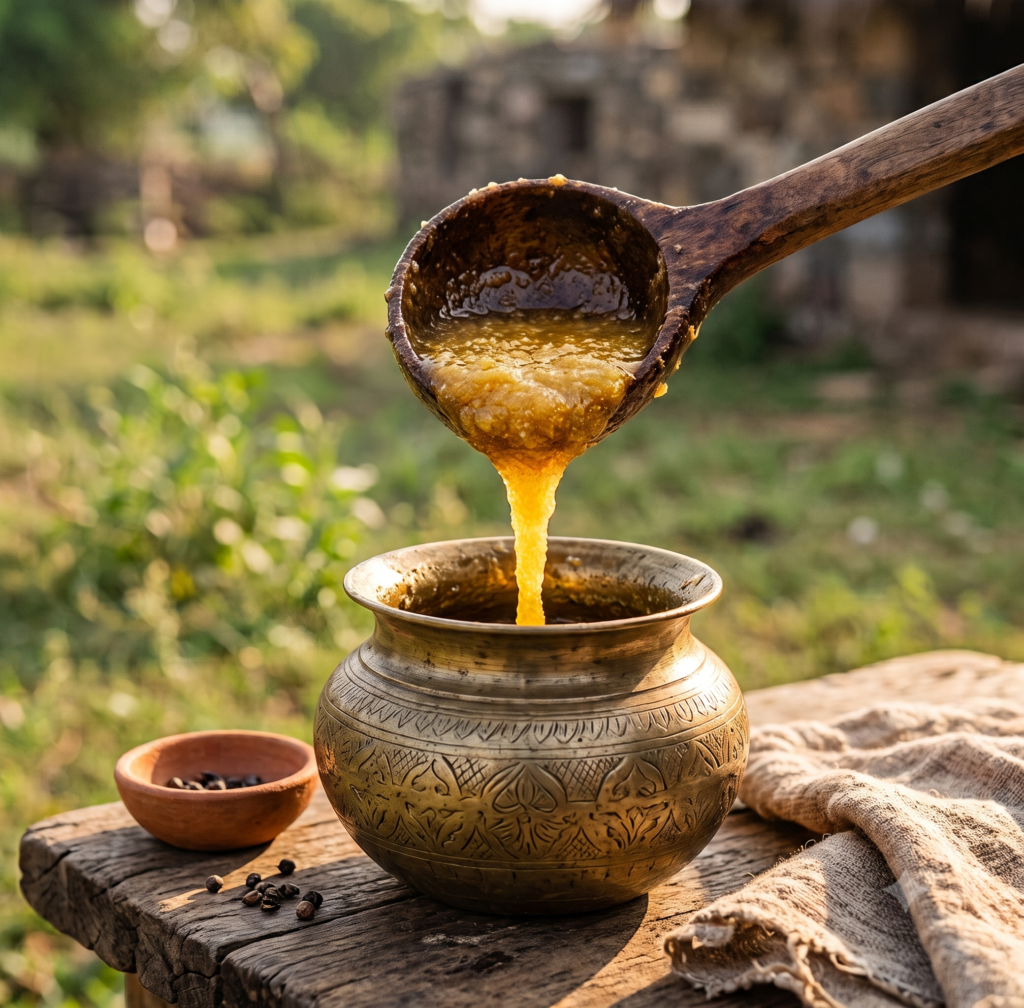
The last step needs the most patience. The makkhan goes into a heavy-bottomed vessel and cooks on a low, slow flame. As it simmers, the moisture evaporates and the milk solids settle at the bottom. What stays on top is clear, golden, aromatic pure Gir cow bilona ghee with a nutty fragrance.
We never rush this step, and we add nothing to the ghee. The result is no additives A2 ghee that smells and tastes the way ghee used to in a family kitchen. We pack it in a glass bottle because glass does not react with ghee and helps protect its flavour and aroma. That is why our premium cow ghee comes in a glass bottle.
Conclusion
Choosing good ghee does not have to be confusing. Now you know the steps behind the traditional bilona ghee method: good milk, curd, hand churning and slow heating. Each step takes time, and that time shows in the aroma and taste.
The next time you pick up a jar of A2 cow ghee, ask how it was made. At Keivora, this is how we work, and we are happy to explain every step. If you would like to try it, you can buy A2 ghee online from us and see how it works in your own kitchen.